Add Sign in with Apple
Sign in with Apple lets someone prove who they are using a familiar Apple sheet. Supabase then remembers their app account securely.
Sign in, sign out and sign back into the same app account.
Let’s do this
- 1In Xcode
Enable the Apple capability
Select the app target → Signing & Capabilities, choose the enrolled team and add Sign in with Apple. Check that the matching App ID in your Apple developer account has this capability enabled.
- 2On your Mac
Enable Apple in Supabase
In your project dashboard, open Authentication, then the list of sign-in providers. Your dashboard may call it Sign In / Providers, or just Providers. Choose Apple, switch it on and add your app’s Bundle ID to its allowed client IDs. Use the native Swift section of the official guide; the browser sign-in setup has different requirements.
Sign in with Apple in Supabase (opens a new tab) - 3In Codex
Build the native sign-in flow
Ask Codex to use Apple’s native Sign in with Apple button and AuthenticationServices, then exchange its identity token with Supabase. Have it handle the security nonce, cancellation, errors, secure session storage and sign-out. You do not need to type these technical steps yourself.
- 4On your iPhone
Test the account journey
On a real iPhone, sign in, close and reopen, sign out, and sign in again. Confirm the same Supabase user returns. Test Hide My Email and a cancelled sign-in. Only ask for a name if the app needs it; Apple may supply it only the first time.
 View larger
A message for Codex
Add native Sign in with Apple to my first iPhone app using AuthenticationServices and Supabase Swift signInWithIdToken. Follow the official native Swift guide, validate the nonce and configure the Bundle ID as an allowed audience. Use a native Apple button and secure session storage. Handle cancellation, Hide My Email, first-sign-in-only name data, sign-out and expired sessions. Explain each dashboard setting. Do not switch to a web OAuth flow or put Apple private keys in the app.
What you should see
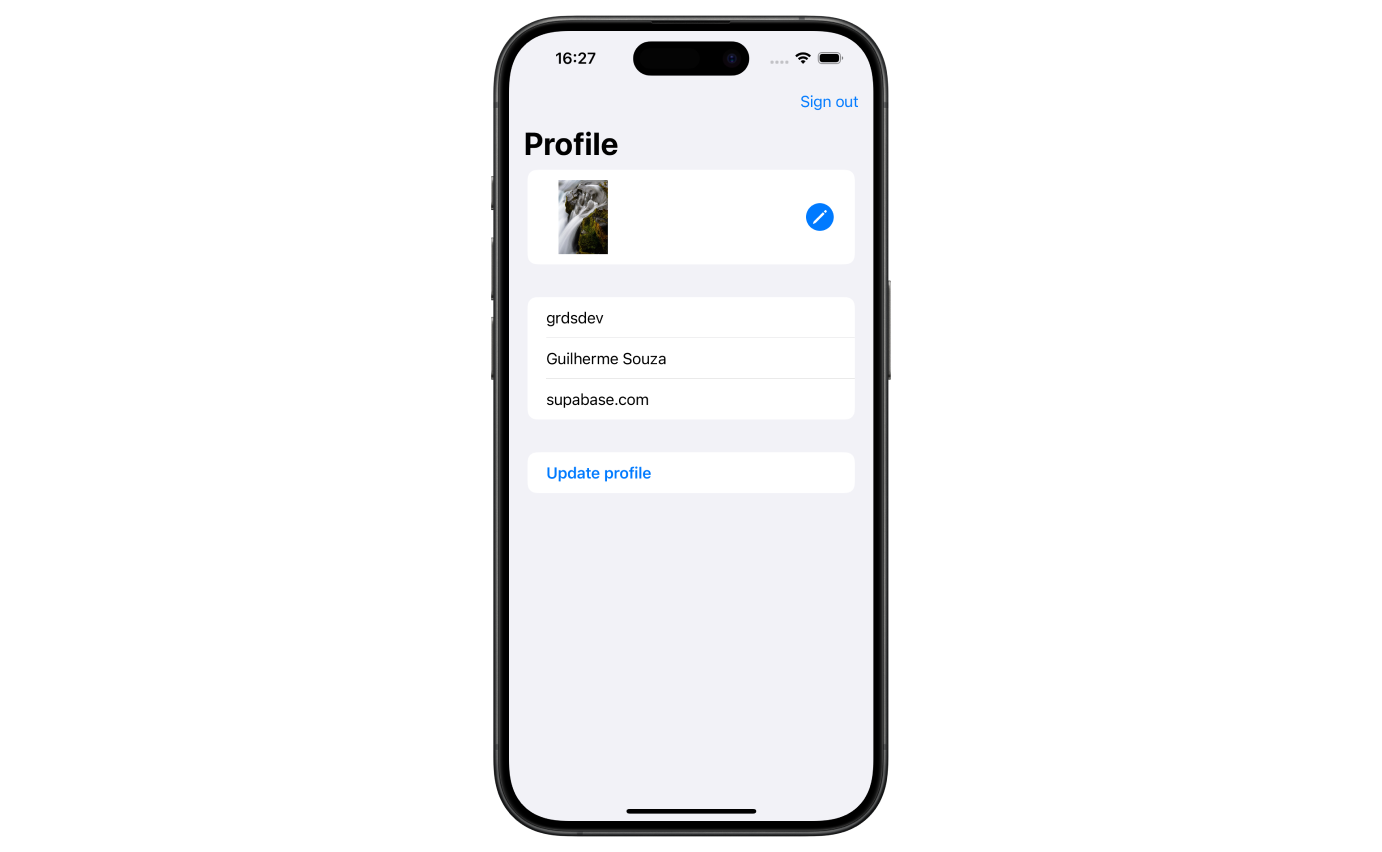
The native Apple sheet works and returning users reconnect to their own account without creating duplicates.
If you get stuck
Checked 7 September 2026. Screens can change; the official guides below have the latest steps.
Sign in with Apple in SupabaseSign in with Apple in Swift