Install Xcode
Xcode is Apple’s workshop for turning files into an iPhone app.
Install the released Xcode and the iPhone tools it needs.
The Xcode and simulator downloads can take much longer than the reading time.
Let’s do this
- 1On your Mac
Check the current requirements
Use the Mac and Xcode compatibility check from the first chapter. Install a released version that your Mac supports. Avoid a beta for this first course.
Xcode system requirements (opens a new tab) - 2On your Mac
Download Xcode from the Mac App Store
Search for Xcode and check that the developer is Apple. Select Get or Install. It is free. Keep the Mac plugged in and let the download finish.
- 3On your Mac
Open it and finish the setup
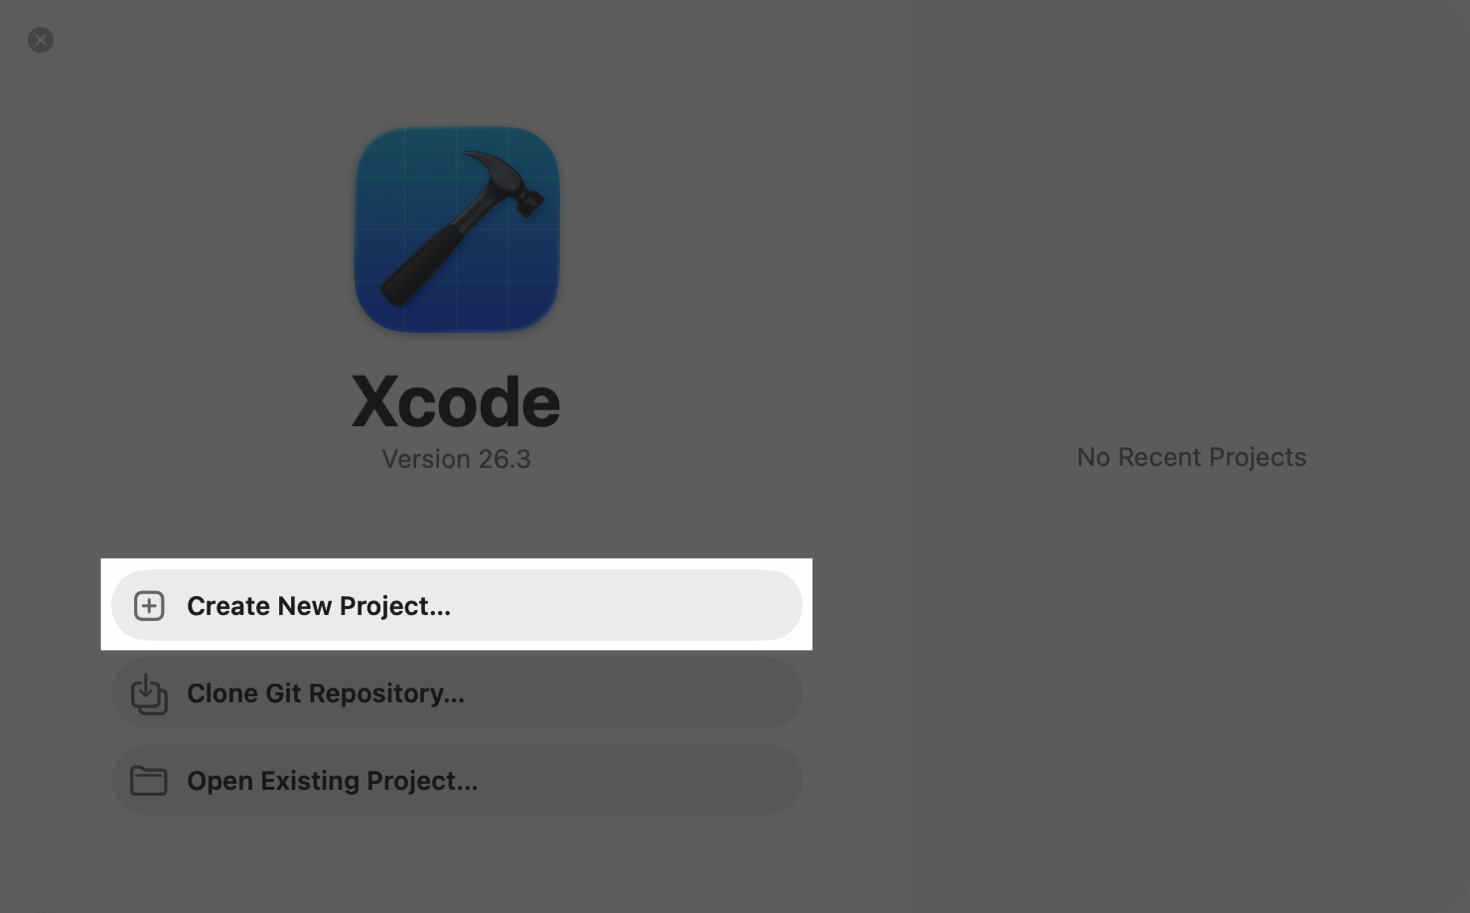
Open Xcode from Applications. Accept Apple’s terms yourself if you agree. Allow it to install required components. If macOS asks for an administrator password, enter it in the system prompt, not in a Codex message.
- 4On your Mac
Install iPhone platform support
When Xcode offers platforms, choose iOS. If the simulator is missing later, open Xcode Settings and find the Components or Platforms section, then download a released iOS simulator. The section name can vary by Xcode version.
 View larger
A message for Codex
Help me check that Xcode and an iOS simulator are installed for building my first iPhone app. Use the existing released Xcode on my Mac. Explain anything missing and the exact place to install it. Ask before installing large downloads or changing my system settings.
What you should see
Xcode opens to its welcome screen without a component-installation warning, and the iOS platform is available.
If you get stuck
Checked 7 September 2026. Screens can change; the official guides below have the latest steps.
Xcode system requirementsCreate an iPhone project